Canakit PI 3 Ultimate Starter Kit
Sunfounder 37 Modules Sensor Kit V2.0 for Raspberry Pi
Sunfounder Battery Power Pack Expansion Board Pi-EzConnect
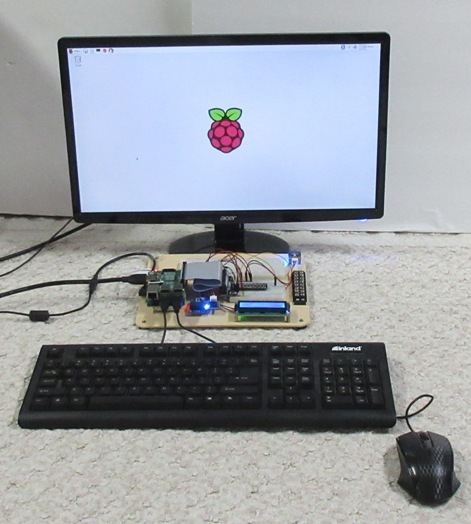
I use this PI setup as a delvelopment system to test circuits makeing use of the GPIO. It is also good for communicating with other Raspberry computers. As the PI 3 has wifi and bluetooth most of the time the monitor, key board and mouse are not needed. Using PUTTY you can SSH into the raspberry and run commands from the BASH shell.
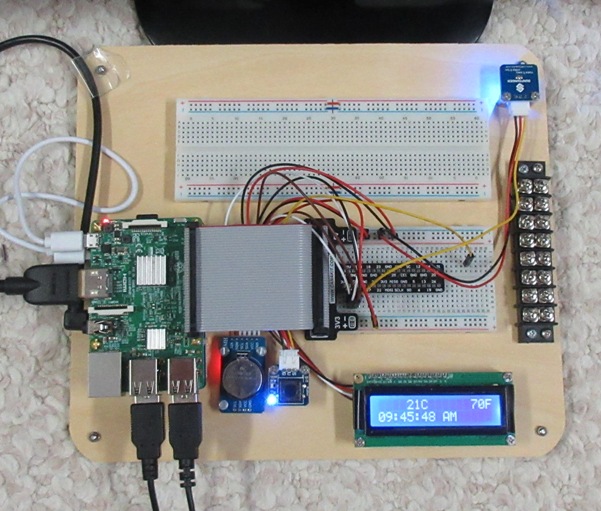
Here the PI is mounted on a board with a minimal number of accesories to make the board usefull and still allow a large set of unused GPIO pins.
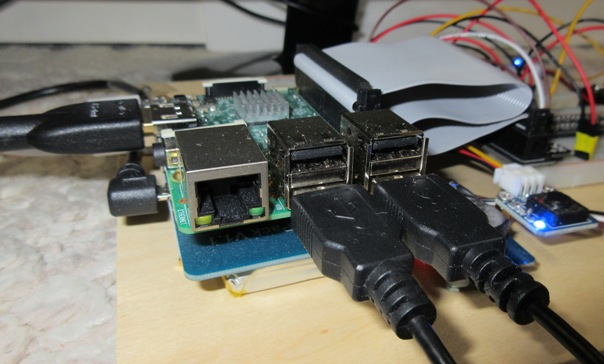
Front view of Raspberry showing 4 USB ports, network port, HDMI port. There are also a sound jack, a camera and display connectors. The most important part is the GPIO header which is connected to a breadboard via a 40 pin ribbon cable.
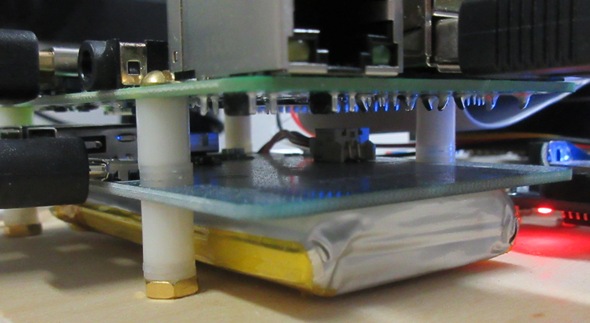
Stacked below the Raspberry is a battery supply. Normally it charges itself while it supplies power to the Raspberry, when needed there is a switch to set it to supply power to raspberry using battery power. This battery makes the PI more portable.
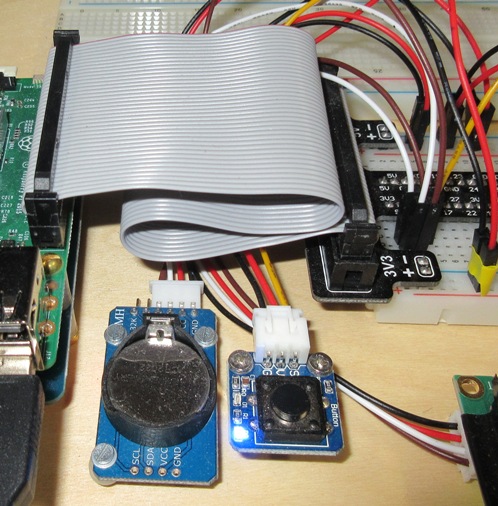
To make the PI more portable I added a real-time clock to it. Normally the PI sets the clock on boot via the internet. However when away from your network this will not work and you will not have the correct time. With the real-time clock attached the PI can be configured to pull the time from the clock before trying to update the time from the network.
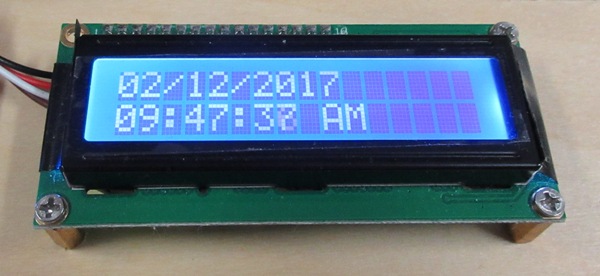
Attached is a 2 X 16 LCD display, I normally use this to display the time and temperature. But can easily be adapted to show any data or even use to display debug info.
This is the main work area. The T shaped connector brings the GPIO pins down to the small breadboard. The longer breadboard is available when more componets are part the circuit. The temperature sensor was placed in the back corner of the board to avoid picking up heat from the Raspberry. The barrier strip is usefull for securing connections going to other devices.

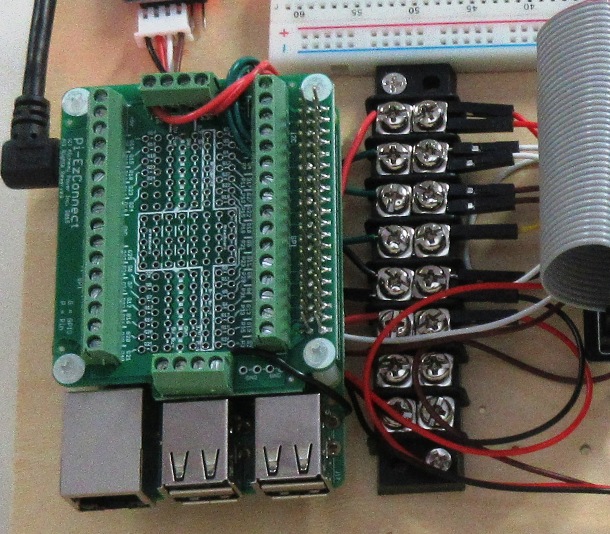
With the Devices added to the PI using the breadboard, connections were not secure and when moving the board around, connections would be broken. I added a Pi-EzConnect Hat and was able make more permenant connections. The Hat also freed up space on the bread board for more temporary connections.
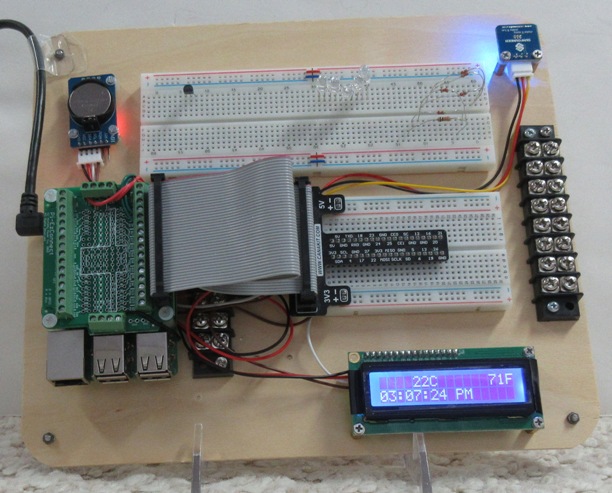
In addition to the EzConnect I added an additional barrier strip so that a single wire going to the EzConnect can be tied to multiple other wires.